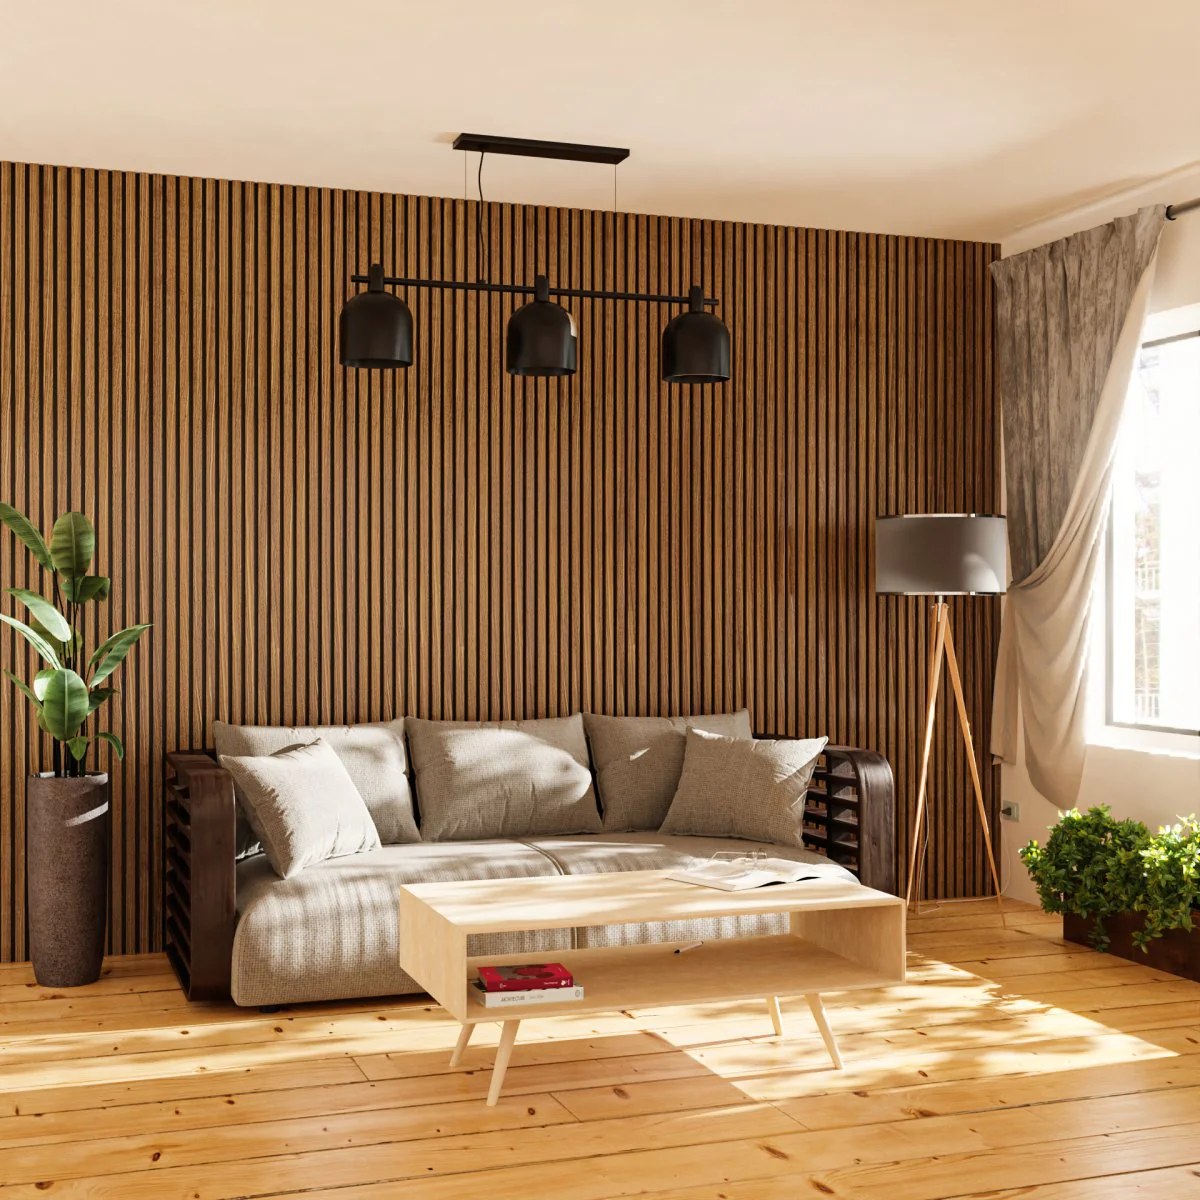
DIY home improvement projects are more popular than ever, but many people shy away from wall renovations because they seem too complicated or expensive. Enter Peel & stick wood panels—a revolutionary solution that makes DIY interiors easier, faster, and more stylish. These panels empower homeowners to achieve professional-looking results without specialized skills or costly tools, proving that anyone can transform their space with confidence.
The DIY Advantage of Peel & Stick Wood Panels
Homeowners love peel & stick wood panels because they combine aesthetics, convenience, and versatility in one simple product.
Simple, Tool-Free Installation
Traditional wood paneling often requires nails, glue, or professional installation. Peel & stick wood panels eliminate the hassle with a self-adhesive backing. Simply peel off the protective layer, press the panel onto a clean surface, and your wall is instantly upgraded. This simplicity makes them ideal for DIY enthusiasts of all skill levels.
Affordable Home Upgrades
Real wood and custom installations can be prohibitively expensive. Peel & stick wood panels mimic the look and texture of premium wood at a fraction of the cost. This affordability allows homeowners to experiment with design and create beautiful interiors without breaking the budget.
Wide Range of Styles
From rustic farmhouse to modern minimalism, peel & stick wood panels come in a variety of finishes and colors. Their adaptability allows DIYers to personalize any room, whether it’s a living room accent wall, bedroom feature, or stylish kitchen backsplash.
Step-by-Step DIY Installation
Even for first-time DIYers, peel & stick wood panels are simple to apply with a few basic steps.
Surface Preparation
Clean and dry the walls thoroughly to ensure proper adhesion. Smooth surfaces prevent peeling and bubbles, guaranteeing a long-lasting, professional appearance.
Planning Your Layout
Measure and mark the wall before applying panels. Stagger seams to create a natural wood look and use a level to keep panels straight. A little planning makes the installation process faster and more precise.
Applying the Panels
Peel off the adhesive backing and press the panel firmly onto the wall. Use consistent pressure, particularly along edges, to ensure a secure fit. Repeat until the wall is fully covered.
Finishing Touches
Trim and moldings can be added to corners or edges for a polished finish. Small gaps can be filled with caulk or wood filler for a seamless look that rivals professional installations.
Benefits Beyond DIY Convenience
Peel & stick wood panels offer more than just ease of installation—they also provide practical and aesthetic advantages.
Low Maintenance
Cleaning these panels is easy, requiring only a damp cloth to remove dust or spills. This makes them ideal for busy households, high-traffic areas, or homes with children and pets.
Temporary or Permanent Flexibility
The adhesive backing allows panels to be removed without damaging walls. This makes them perfect for renters, seasonal décor changes, or homeowners who like to refresh interiors frequently.
Sound and Insulation Benefits
Some peel & stick wood panels provide an extra layer of insulation and minor soundproofing, helping create a quieter, more comfortable living space while enhancing the room’s visual appeal.
Creative DIY Applications
Maximizing the impact of peel & stick wood panels in DIY projects is all about creativity. Consider these ideas:
- Accent Walls: Create a focal point in any room with minimal effort.
- Headboards: Build a custom wood headboard without woodworking skills.
- Furniture Makeovers: Refresh cabinets, shelves, and tables with a wood-like finish.
- Ceiling Designs: Add texture and sophistication to a plain ceiling for a unique look.
Conclusion
Peel & stick wood panels are truly a game-changer for DIY interiors. With easy installation, realistic wood finishes, and practical benefits like low maintenance and versatility, they empower homeowners to create professional-quality designs without the hassle or expense.


